

Ever find contour makeup a bit confusing? Well, it's actually a fantastic way to enhance your looks. With contouring, you can make your natural features stand out, define your face's shape, and have a beautiful base for any makeup style. In this Contouring guide, we'll show you how to do contouring specifically for Indian skin tones, so you can learn the secrets to looking flawless and radiant. Read more and start your journey to become a contouring pro, all from the comfort of your home.
Table of content
- What is Contouring?
- What is the difference between contour and bronzer?
- Different Types of Contour
- Powder contour
- Cream contour
- Liquid contour
- How To Contour Your Face?
- Prepare Your Base
- Map Out the Contour Areas
- Blend to Perfection
- Highlight and Set
- Wrapping up
What is Contouring?
Contouring is the process of shaping a part of the face and enhancing the facial structure with makeup. It's a way to use makeup to make your cheekbones look higher, your jawline more defined, and your nose slimmer. You can use dark makeup to create shadows and define facial contours, while light makeup can be applied to highlight and enhance certain areas on your face. It helps to show off your best features, like your cheekbones or nose, and hide others. It can be a bit tricky to do because you need to know where to put the light and dark makeup and blend it well, so it looks natural. Many people use contouring to give their faces a more polished or sculpted look, whether for everyday wear or special events.

What is the difference between contour and bronzer?
Contouring and using bronzer are two ways to shape and bring out different features on your face with makeup, but they do different things.
What is Contouring?
Contouring is like drawing lines and shadows on your face to help certain parts stand out or look slimmer. You do this by using dark colors on areas you want to look more shaded, like the sides of your nose or under your cheekbones. It helps to give your face a more sculpted look.
What is Bronzer?
Bronzer, on the other hand, is used to give your face a warm, sun-kissed glow, like a gentle tan. You apply it to places where the sun would naturally touch your face, like your forehead, cheekbones, and the bridge of your nose. It's a way to add some warmth and color to your skin, making you look like you've spent some time in the sun. It helps your face look more lively and vibrant.
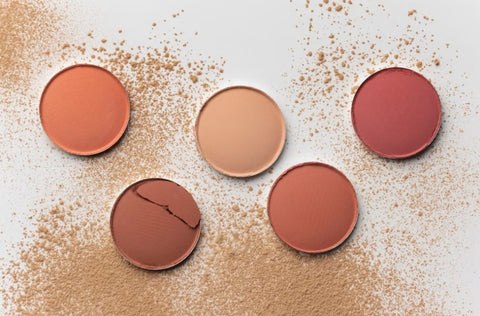
Different Types of Contour
Contour lines help us understand the shape and features of land surfaces. Just like how we can trace the lines on our palms, these lines show us the rises, dips, and flats of an area, creating a picture of the landscape. Learn how they help in giving us a clearer image of different land formations.
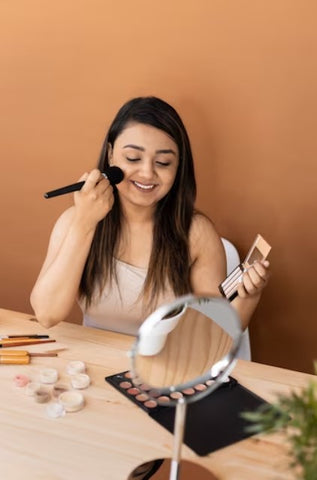
1. Powder contour
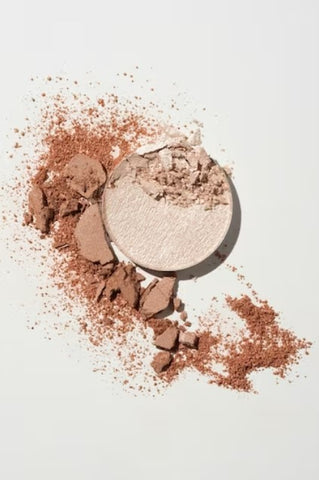
Powder contour is like using makeup to make your face look more defined and sculpted by shading certain areas with a special powder. It effortlessly blends into your skin, allowing you to naturally define your features like cheekbones, jawline, and nose. This makeup type offers long-lasting wear, keeping your look fresh for hours. Choosing the correct brush is key to achieving the perfect contour, making powder contour a valuable addition to your makeup collection. If you're wondering how to identify oily skin, watch for signs like excess shine, enlarged pores, and makeup that tends to slide off during the day.
2. Cream contour

Cream contouring is a makeup trick where you use creamy products to make your face look more defined and shaped. It comes in easy-to-use sticks or in palettes with different shades. Because it's creamy, it blends smoothly on the skin, making it ideal for those with dry skin. You can use it to shape and emphasize your face's natural lines in a way that looks gentle and not too sharp. It's a good choice if you want to try contouring without it looking too obvious.
3. Liquid contour
Liquid contouring is using makeup that's like water to make your face look more defined and shapely. It comes in bottles with a dropper or a pen-like applicator, helping you put the makeup exactly where you want it without making a mess. It blends smoothly on your skin, allowing you to shape and define your face in a more natural way. This type of makeup is great for giving a fresh, dewy look. Whether you're just starting out with makeup or you've been using it for years, you'll find liquid contour versatile for creating soft or more defined looks, suitable for any time of the day.
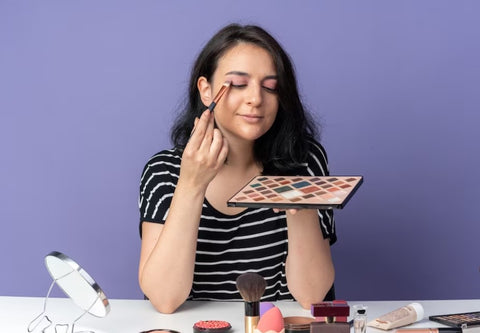
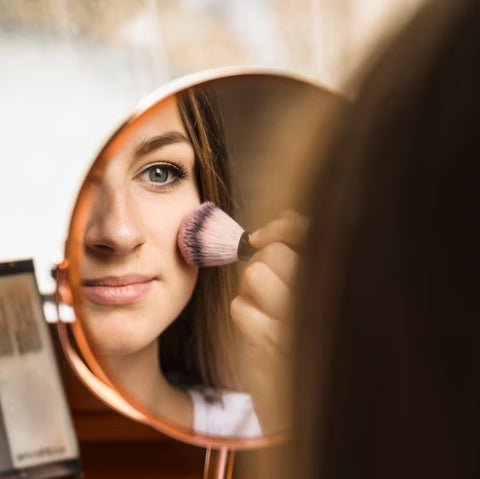
How To Contour Your Face?
Contouring your face is a simple trick to make your best features pop. Think of it as drawing lines to shape and define your face just how you like it. These easy steps help you get that natural, sculpted look with no fuss.
Step1: Prepare Your Base
Preparing your base ready is important when you do makeup. It means washing your face, putting on some lotion, and using foundation or primer to make your skin nice and smooth. This helps your makeup look awesome and stay on longer, so your skin looks great.
How to Prepare Your Base
- Start fresh by cleaning your face thoroughly. Using a gentle cleanser for your skin type will help remove oil and impurities, paving the way for a smoother makeup application.
- Apply a suitable high-quality moisturizer to hydrate your skin, letting it absorb fully before moving to the next step.
- Apply a primer to smooth the skin, minimize pores, and reduce redness, ensuring longer-lasting makeup, especially on problem areas.
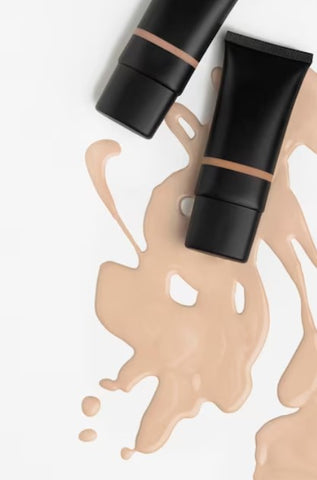
- Select a foundation that matches your skin and apply evenly to avoid patches or lines, creating a uniform base for effortless contour and highlight blending later on.
Step 2: Map Out the Contour Areas
Before you start contouring, it's essential to figure out where to put the makeup. This means finding the shadowy and bright spots on your face. Knowing this helps you create a more defined and attractive look with makeup.
How to Identify the Contouring Zones
- Highlight natural shadows on your nose sides, under cheekbones, jawline, and temples to accentuate or minimize features based on your face shape. If you're wondering about nose contouring, check out how to do nose contouring.
- Analyze your face shape to identify the best areas to contour. Different shapes necessitate unique techniques for a balanced look.
- Map out symmetrical areas on your face, ensuring evenly placed contour lines for a natural look. Start with a light hand for better balance.
- Use good, natural lighting for this step to ensure accurate and balanced contouring tones in everyday settings.

Step 3: Blend to Perfection
This section is all about making your makeup look really smooth. We'll show you how to blend different makeup products together so that your face looks natural and flawless.
How to Blend Your Look to Perfection
- Use the right blending brushes or sponges for your product texture: damp sponges for creams and liquids, and fluffy brushes for powders.
- Begin by gradually blending lighter layers of your contour and highlight, increasing intensity as needed to avoid patchy or uneven makeup.
- Blend contour lines upward to lift the face and avoid sagging. Similarly, diffuse highlights outward in gentle circles for a natural glow.
- For a flawless finish, blend slowly and patiently, using light, meticulous strokes.
Step 4: Highlight and Set
The Last Steps for a Gorgeous Look. After you've shaped and brightened your face, it's time to make sure your makeup stays put and looks great. Learn How to Apply Highlighter for Indian Skin to enhance your features and achieve a flawless finish
How to Highlight and Set Your Look
- Apply highlighter to your cheekbones, brow bones, and nose bridge using a brush or fingertip for a radiant, lifted look.
- For a natural, seamless look, blend the highlighter gently into the skin using a clean brush or sponge, avoiding stark lines or shiny spots.
- After highlighting, lock in your makeup with setting spray or translucent powder to prevent smudging and retain a fresh look all day.
- Before you wrap up, check your makeup in natural light to avoid overly shiny or heavily contoured appearances. Adjust as needed.

Wrapping up
We walked you through each step to ace contouring for Indian skin tones, helping you highlight your natural beauty perfectly. Using the Double Headed Contour Stick can be your secret weapon in this beauty adventure. Remember, it's all about trying again and again until you find what works best for you. Got any tricks up your sleeve or need some advice? Drop a comment below; we'd love to hear from you! Let's keep the beauty conversation going.